Are you enjoying your summer? Playing some card games? We have this year’s games coming at you week by week and all of last years’ games available for you and your children to practice math skills. And did you like last week’s activities with the Math Balance? Well, this week, let’s work with drawing tools and get some art flavor incorporated into our summer math fun and games.
I’m going to take this week’s activities from RightStart Math’s Level C, second edition Lesson 70 and from RightStart Math’s Level G, second edition, Lesson 7. This activity will provide an application for the math that the children are learning. Teaching geometry with hands-on tools helps the child learn the informal, practical side of geometry. It also helps develop coordination, which improves with practice. Ready to have some fun?
First of all, you’re going to need the drawing board, T-square, and a 30-60 triangle. Use a mechanical pencil or a nice sharp pencil. A dull pencil will create thick lines and accuracy will be decreased.
Tape a blank sheet of paper on the drawing board. Use tape on the top two corners. Removable tape works best because then it won’t rip the corners off your paper. Don’t put any tape on the bottom corners as that will interfere when moving the T-square around.
For a right-handed person, the T-square is placed along the left side of the board. The left-handed person place the T-square along the right side. Hold the T-square tight against the board with one hand while you draw lines along the top of the T-square with the dominate writing hand. Be sure the T-square “hugs” the board before drawing each line. Let’s start by drawing a base line near the bottom of our page.
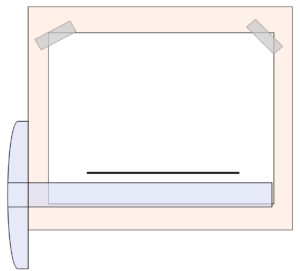
When using the triangle, it needs to touch the T-square while the T-square hugs the board. The T-square needs to be at least a centimeter or quarter inch below the lower starting point in order to draw a precise line with the triangle.
Here’s how to handle both the T-square and the triangle, assuming a right-handed person. A left-handed person will mirror these instructions.
1. The left hand moves the T-square below the starting point and holds it in place. Keep a little tension pulling to the right to keep it snug against the board.
2. The right hand moves the triangle toward the correct place on the T-square.
3. Both hands hold the tools momentarily.
4. The left hand takes over holding both tools. Again, create some light tension to keep the T-square tight against the board.
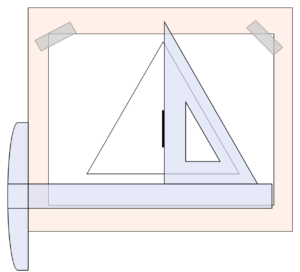
Once we have the T-square and triangle in place, draw one side of the equilateral triangle. Of course, we won’t know how long to make it, so just draw it longer than you think is necessary. We’ll erase what we don’t need.
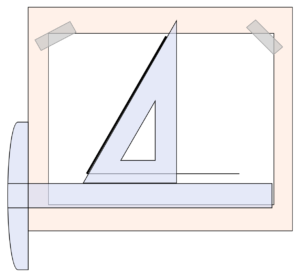
Flip the triangle over and draw the last side of our triangle.
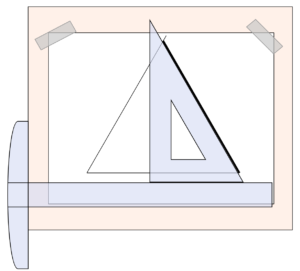
Now, because we’re going to break our equilateral triangles into ninths, like this,
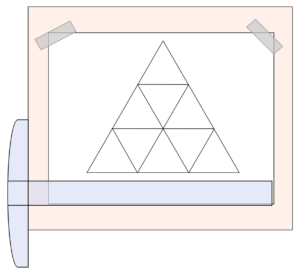
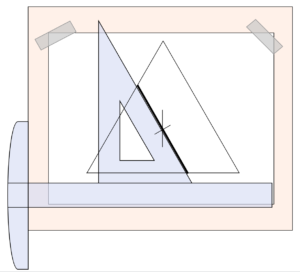
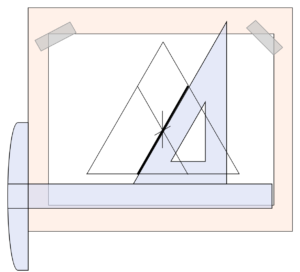
we need to find the center of our triangle. See how the three lines above are drawn through the center of the triangle and are parallel to the sides of the triangle? Do this with tick marks as shown below. Note that the tick marks are just little partial lines, “ticking” off the center. They aren’t drawn all the way across.

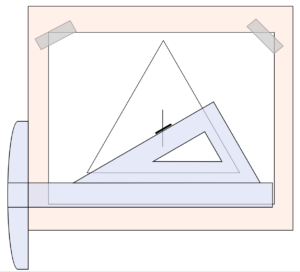

Then draw the lines to create nine little equilateral triangles.


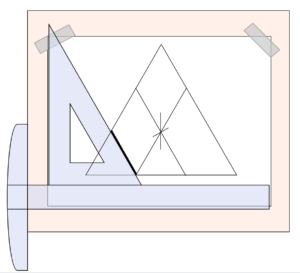

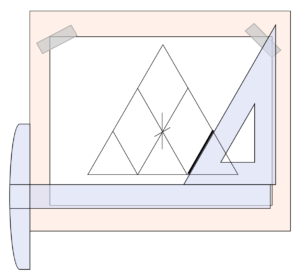

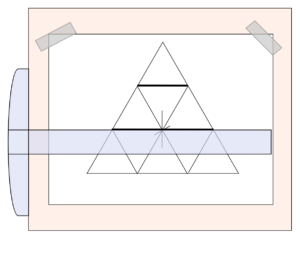


This figure has an interesting pattern, especially if you add onto it. Here’s mine with one row added on the bottom.
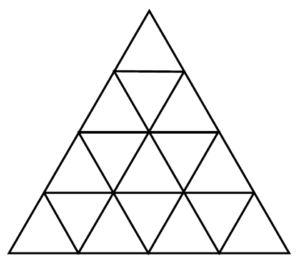

Check out the number of small triangles in each row.
Look at the chart below to help you see some of the patterns. The first column of the chart has the row number. The second column is the first column times two. The third column is the number of little triangles in each row. As you can see, I’ve filled in the first two rows. What are answers to the next two rows? Use the design above to help answer the questions.
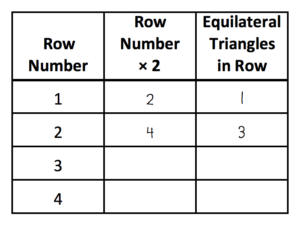

What did you get for the third row? Should be row 3, 6 (3 × 2), and 5 little triangles. And the fourth? Answers are row 4, 8, and 7 little triangles. See a pattern here?
Let’s keep going…… Draw more triangles if you need to. We could look at this mathematically too. Look at the patterns.
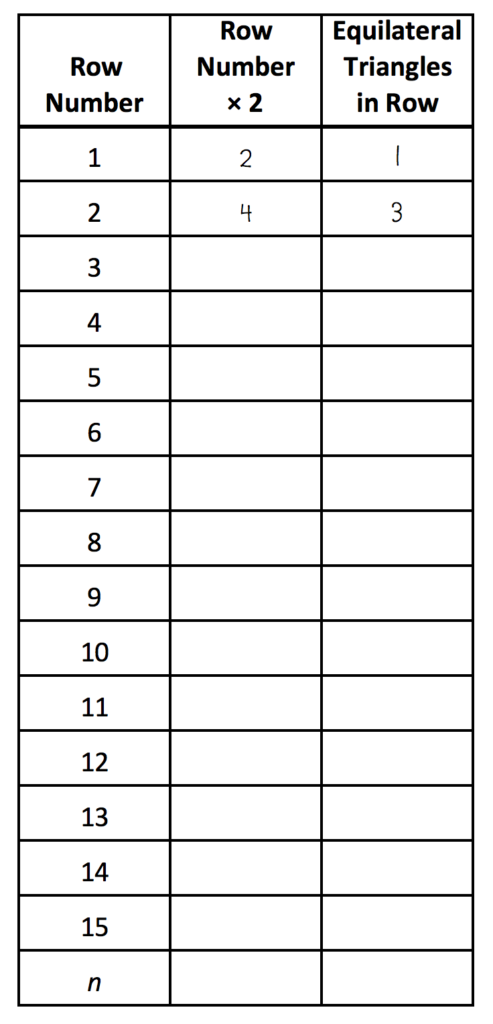

In the last row in the chart, n means any number. Twice any number can be written as 2n. Also, any number plus 1 is written as n + 1; any number minus 1 is n – 1. Look at the second and third columns. How many equilateral triangles are in each row? In relation to the row number, that would be 2n – 1. Answers can be found here.
Use the drawing tools to continue the drawings and create new ones. Share them with us at [email protected]. Happy drawing!
